
DIY Guide: Installing Drapery in Your Miami Home


Why Install Drapery in Your Miami Home?
Installing drapery in your Miami home not only enhances the aesthetic appeal but also provides functional benefits. Drapery can help control the amount of natural light entering your space, protect your furniture from sun damage, and add an extra layer of privacy. Whether you prefer a modern or traditional style, the right drapery can transform any room.
In Miami, where sunlight is abundant, choosing the right fabric and color for your drapery is crucial. Light colors and sheer fabrics can create an airy feel, while darker, thicker fabrics add warmth and elegance. By following this DIY guide, you can easily install drapery that fits your personal style and needs.
Gathering Your Tools and Materials
Before you begin the installation process, make sure you have all the necessary tools and materials. You'll need:
- Measuring tape
- Drill and drill bits
- Screwdriver
- Wall anchors and screws
- Level
- Drapery rod and brackets
- Drapery panels
Having these items on hand will streamline the installation process, ensuring you’re ready to tackle each step efficiently.
Measuring Your Windows
Accurate measurements are essential for a professional-looking installation. Start by measuring the width and height of your window. Add extra width to allow your drapery to hang comfortably when closed. A general rule of thumb is to add 4 to 6 inches on each side of the window frame.
For the height, decide whether you want floor-length drapes or ones that hang just below the window sill. Measure from the top of the window frame to your desired length. Recording these measurements accurately will help you purchase the correct size drapery panels.
Installing the Drapery Rod
Begin by marking the position of the brackets. Use a level to ensure they are even, and mark the spots with a pencil. Drill pilot holes at the marked spots and insert wall anchors if needed. Secure the brackets with screws, making sure they’re firmly in place.
Next, attach the drapery rod to the brackets. This step may require an extra pair of hands to help hold the rod steady while you secure it. Ensure the rod is level and adjust if necessary. A well-installed rod is key to maintaining the drapery's alignment and appearance.
Hanging the Drapery Panels
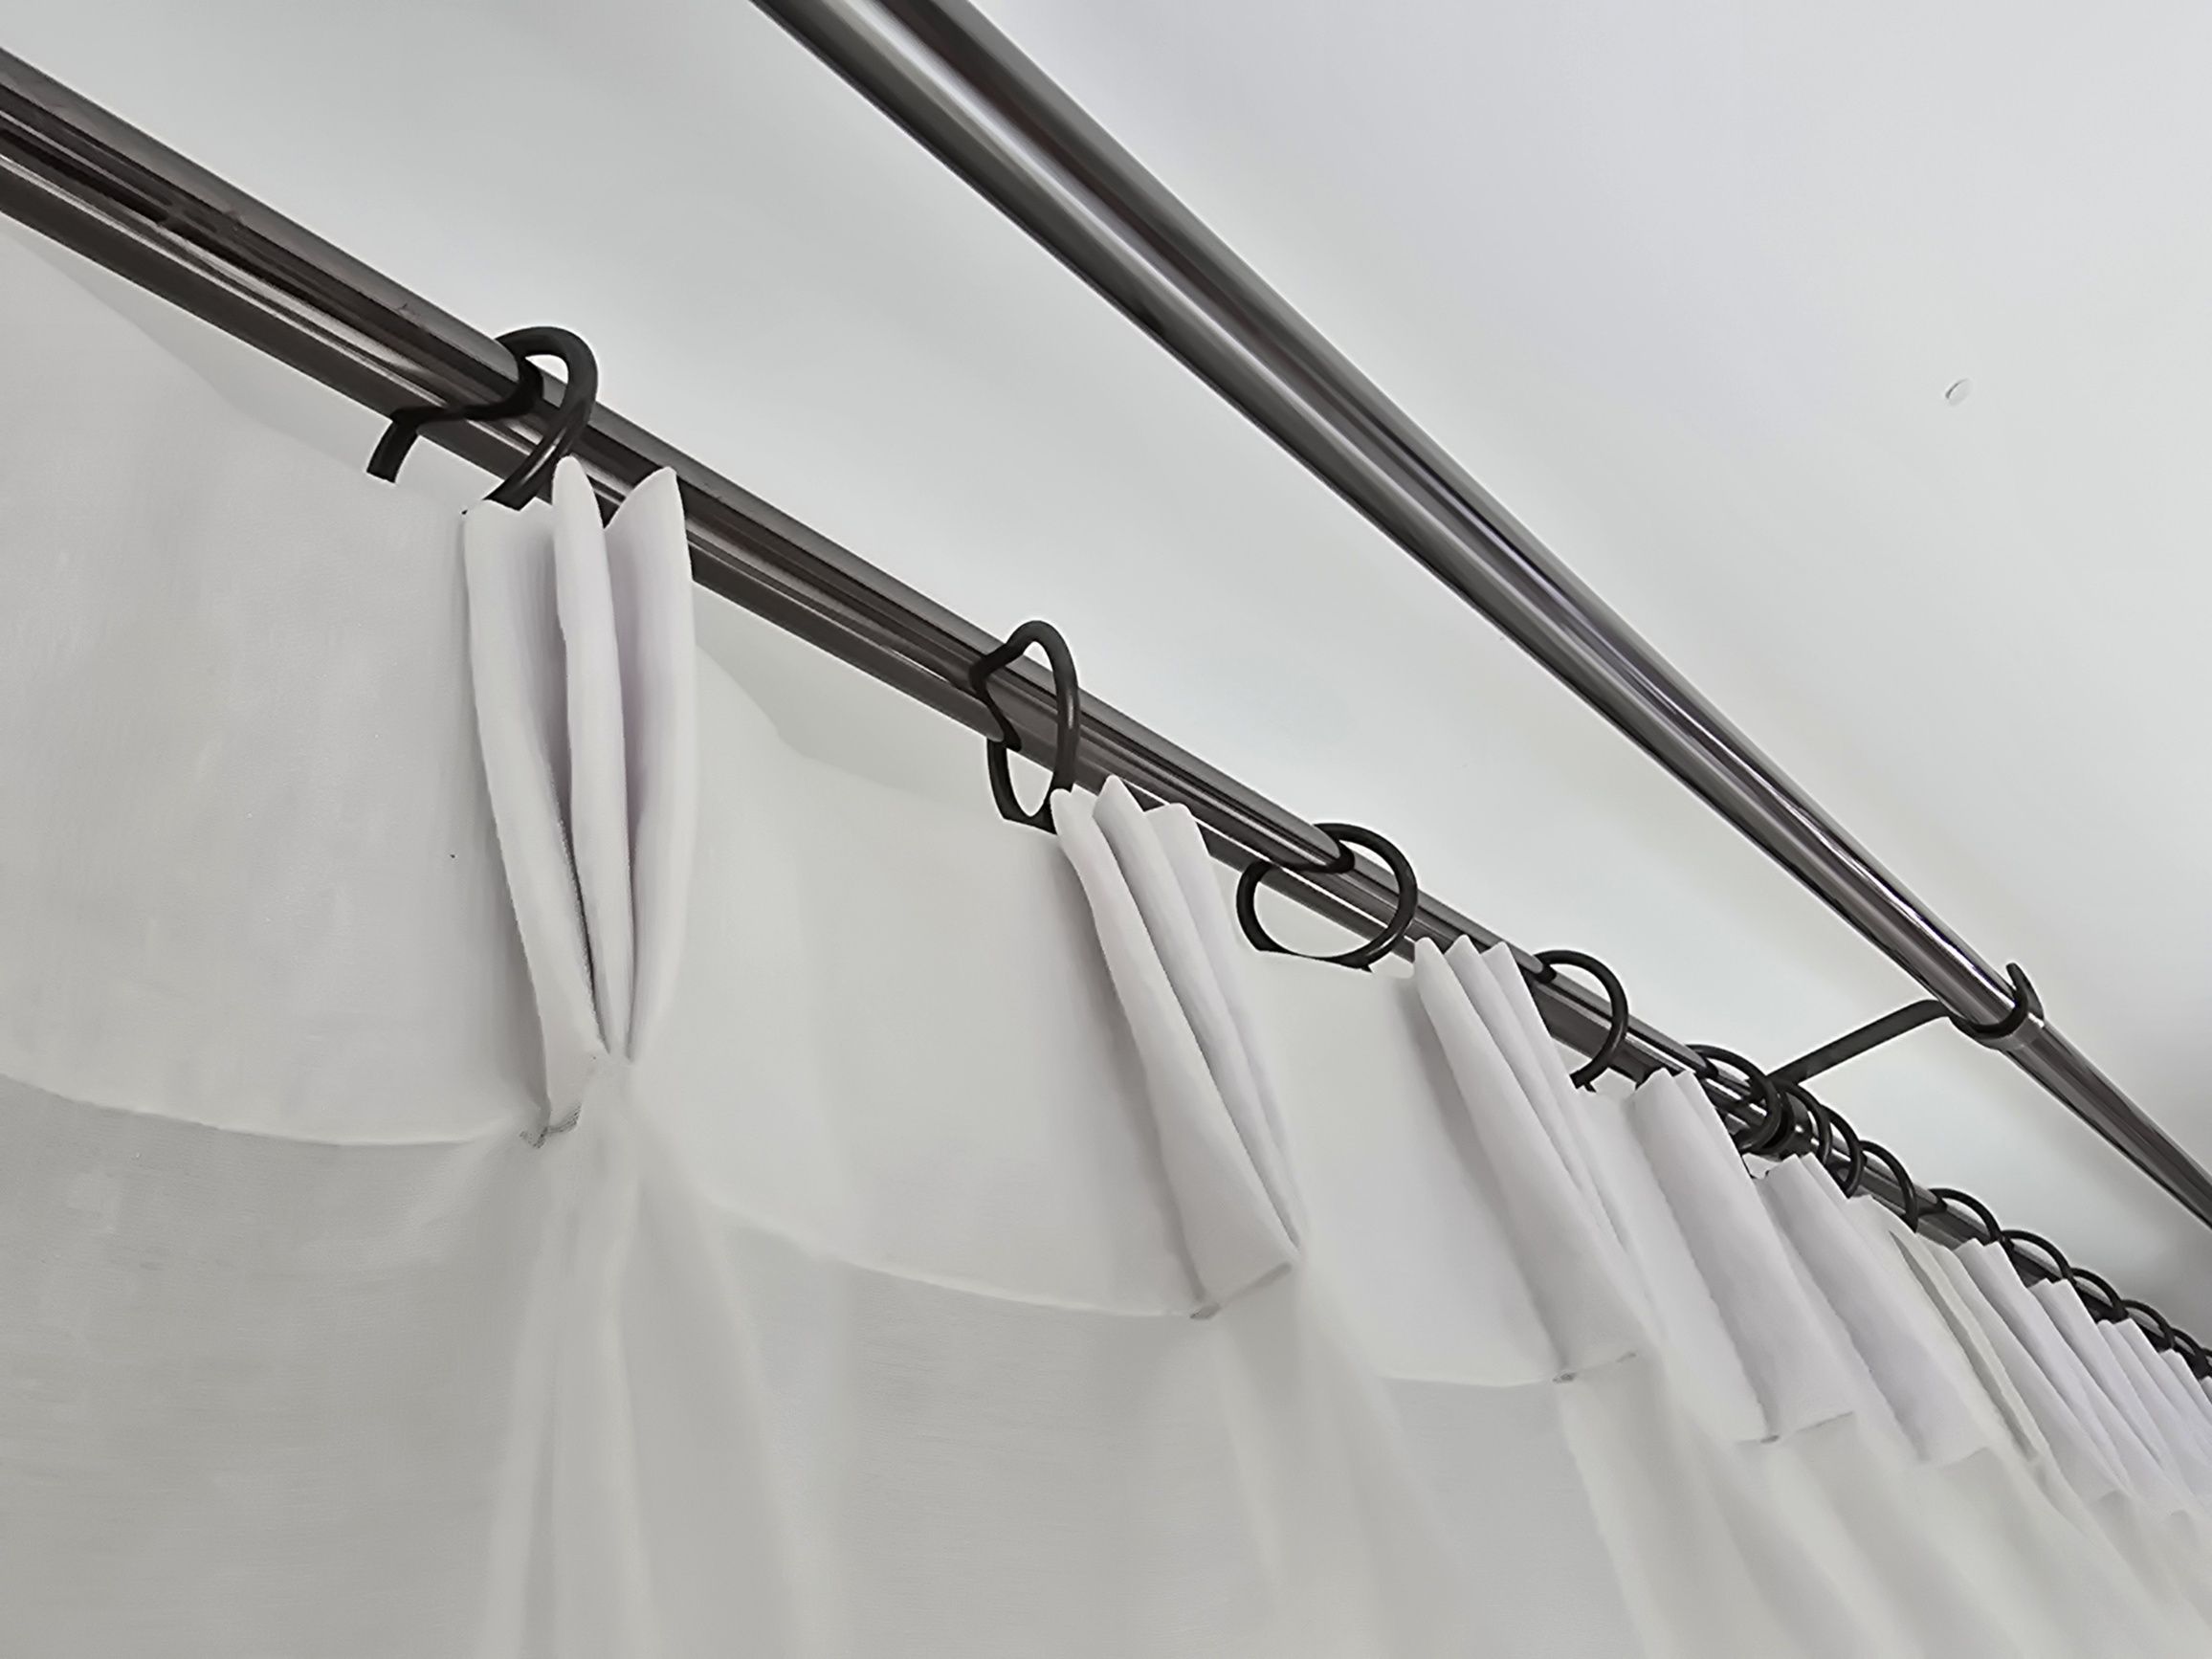
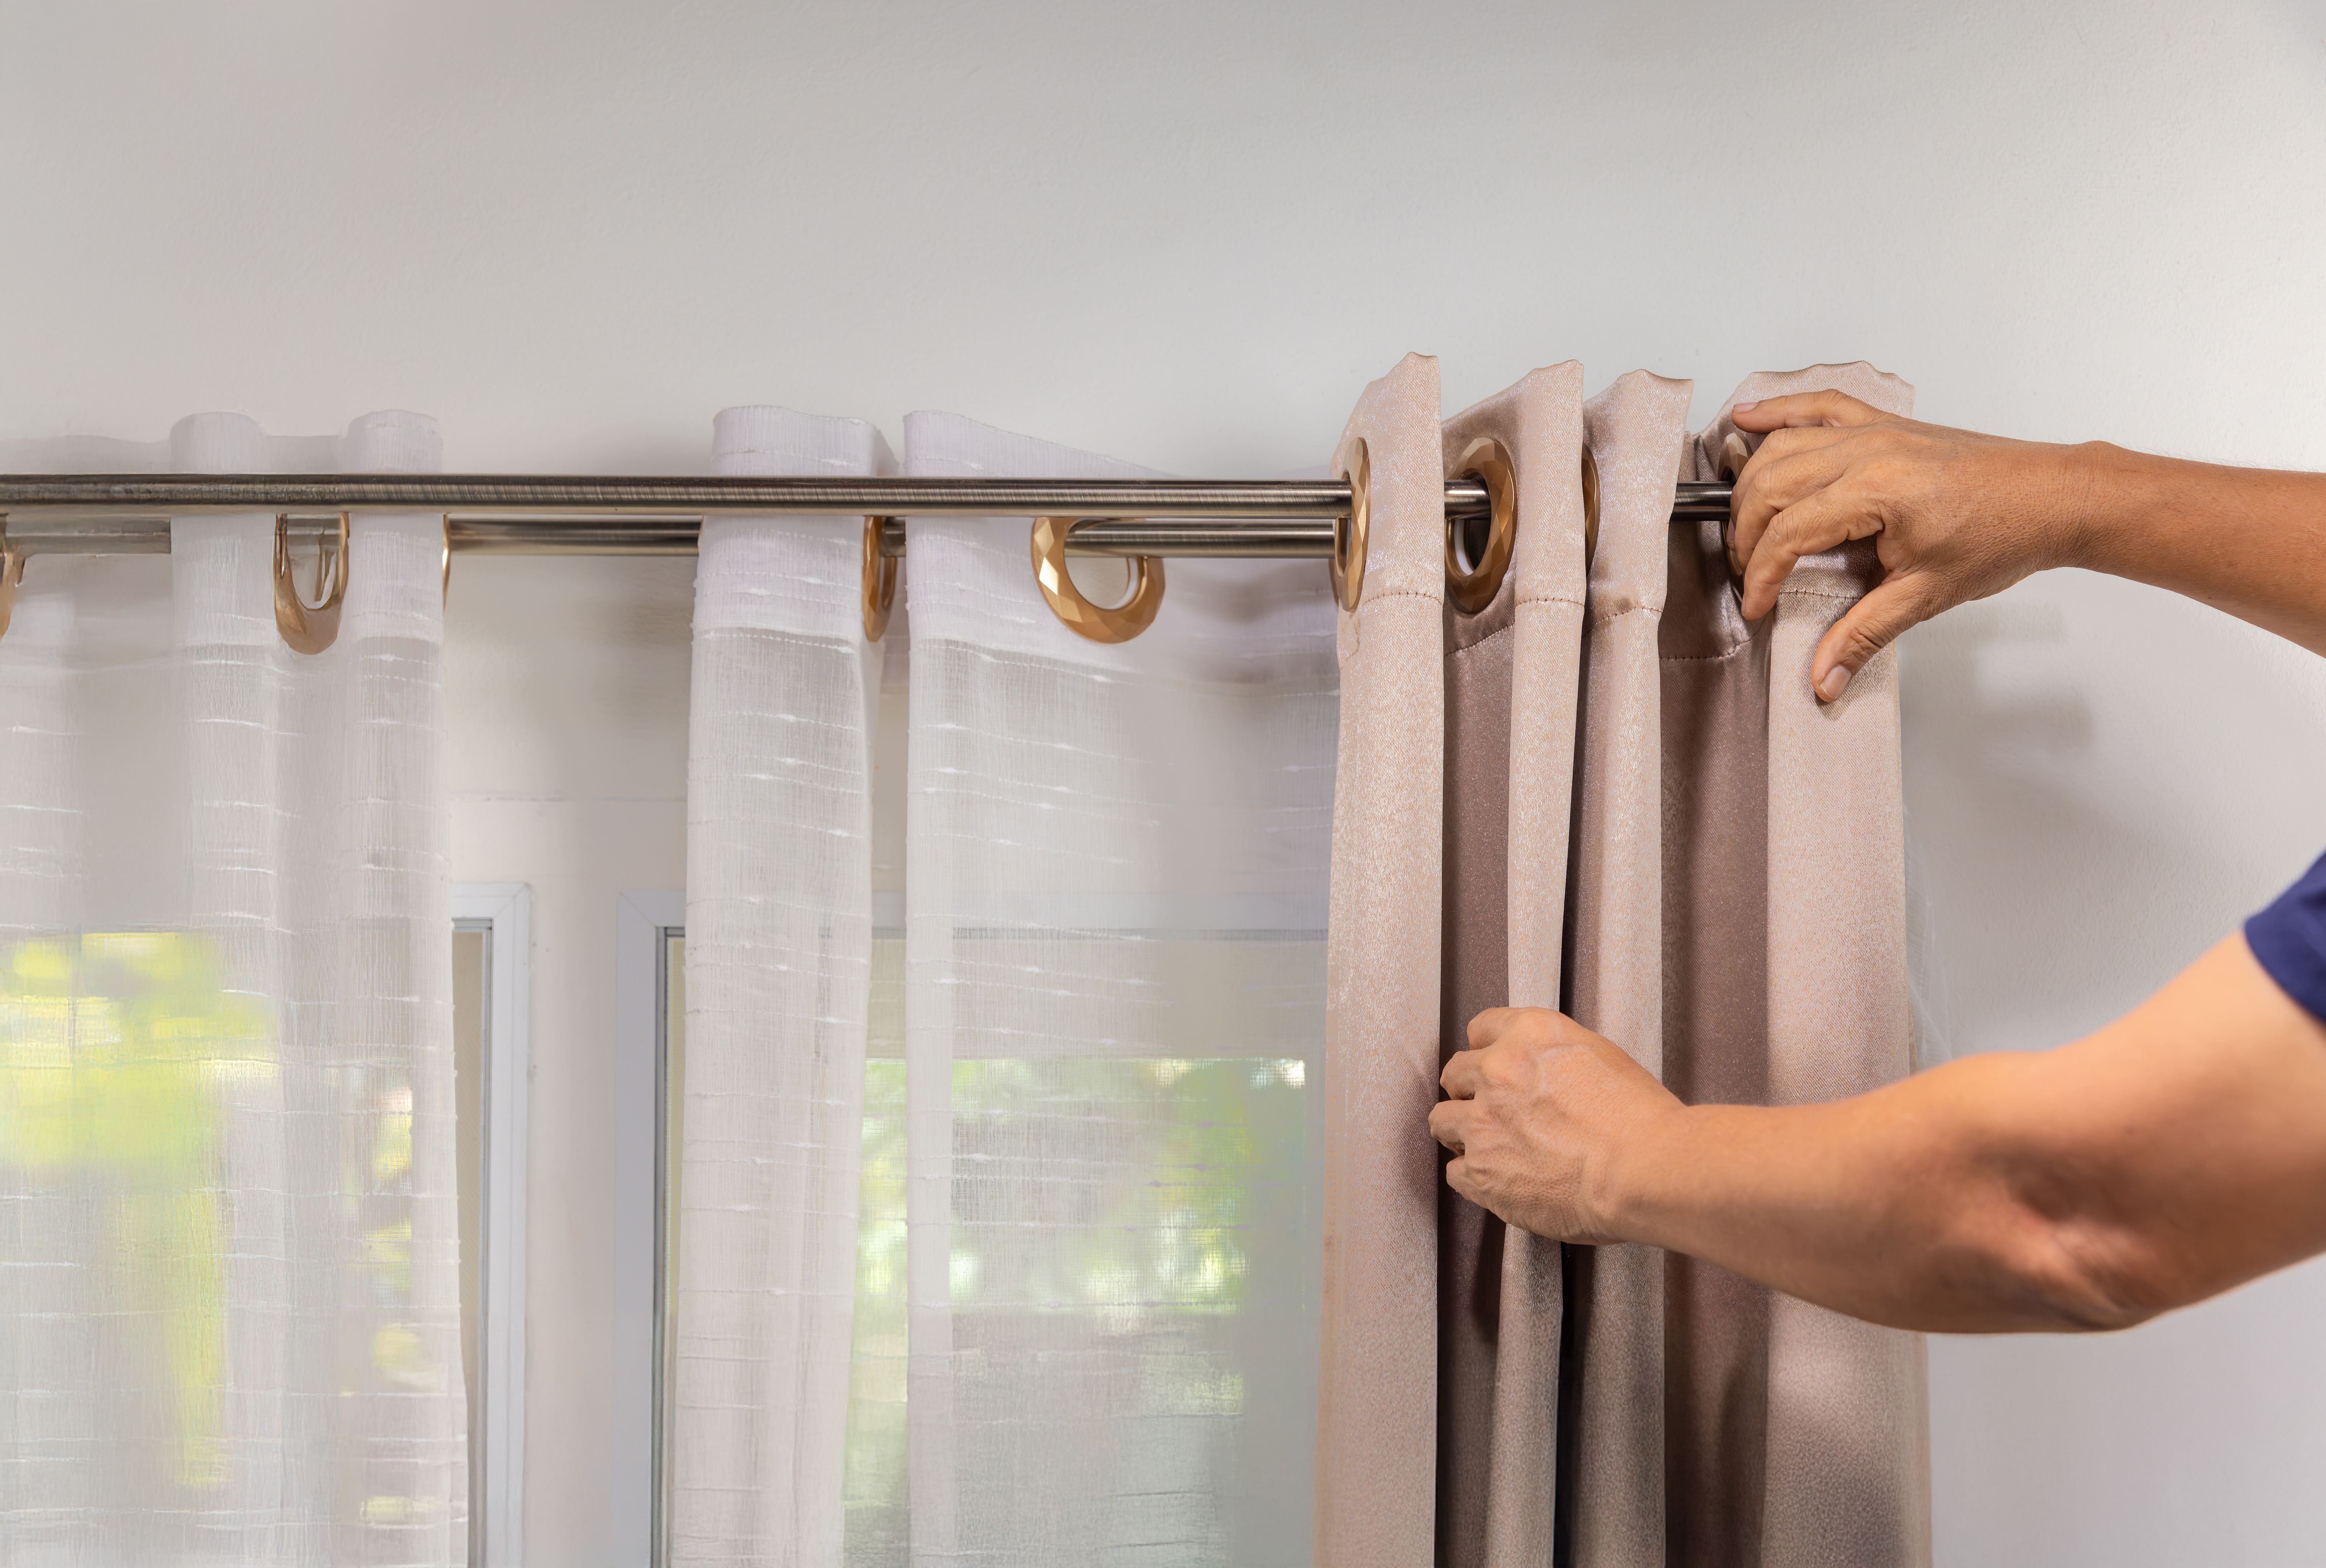
With the rod securely in place, it’s time to hang your drapery panels. Slide the panels onto the rod or attach them using hooks or rings, depending on your rod's design. Arrange the fabric so it falls evenly on both sides of the window.
Take a step back and evaluate the overall look. Adjust the panels to ensure they hang straight and evenly. This final touch will enhance the room's visual appeal and ensure your drapery functions properly.
Final Touches and Maintenance
Once your drapery is installed, consider any additional touches like tiebacks or decorative elements that can complement your interior design. Regular maintenance, such as vacuuming and occasional washing, will keep your drapery looking fresh and clean.
By following these steps, you can successfully install drapery in your Miami home, adding both style and functionality to your living space. Enjoy the transformation and the new ambiance created by your custom drapery installation.